
Building your own kitchen unit can be a rewarding project for homeowners who want to customize their space or save money during a renovation. A kitchen unit typically refers to a base cabinet or wall cabinet that stores kitchen items while supporting countertops, appliances, and fixtures. Understanding how to build a kitchen unit involves more than simply assembling pieces of wood—it requires careful planning, accurate measurements, and the right materials.
While many homeowners choose ready-made cabinets, building your own units can provide greater control over layout, storage features, and design. This guide explains the process of constructing a basic kitchen cabinet unit from planning and materials to assembly and installation.
Understanding the Structure of a Kitchen Unit
Before starting construction, it’s important to understand the basic components of a kitchen cabinet.
A typical kitchen unit includes:
- Cabinet box (also called the carcass)
- Side panels
- Top and bottom panels
- Back panel
- Shelves or drawer supports
- Doors or drawer fronts
The cabinet box forms the structural frame of the unit, while the doors and drawers provide access to storage.
Planning the Kitchen Unit Design
The planning stage is one of the most important parts of building kitchen cabinets.
Determine the Cabinet Size
Standard kitchen base cabinets typically measure:
- 34.5 inches tall
- 24 inches deep
Widths vary depending on cabinet type. Common widths include 12, 18, 24, and 36 inches.
These measurements allow cabinets to fit properly with countertops and appliances.
Map the Kitchen Layout
When designing multiple cabinets, layout planning ensures all units align properly. Consider:
- Appliance placement
- Sink location
- Corner cabinets
- Walkway clearance
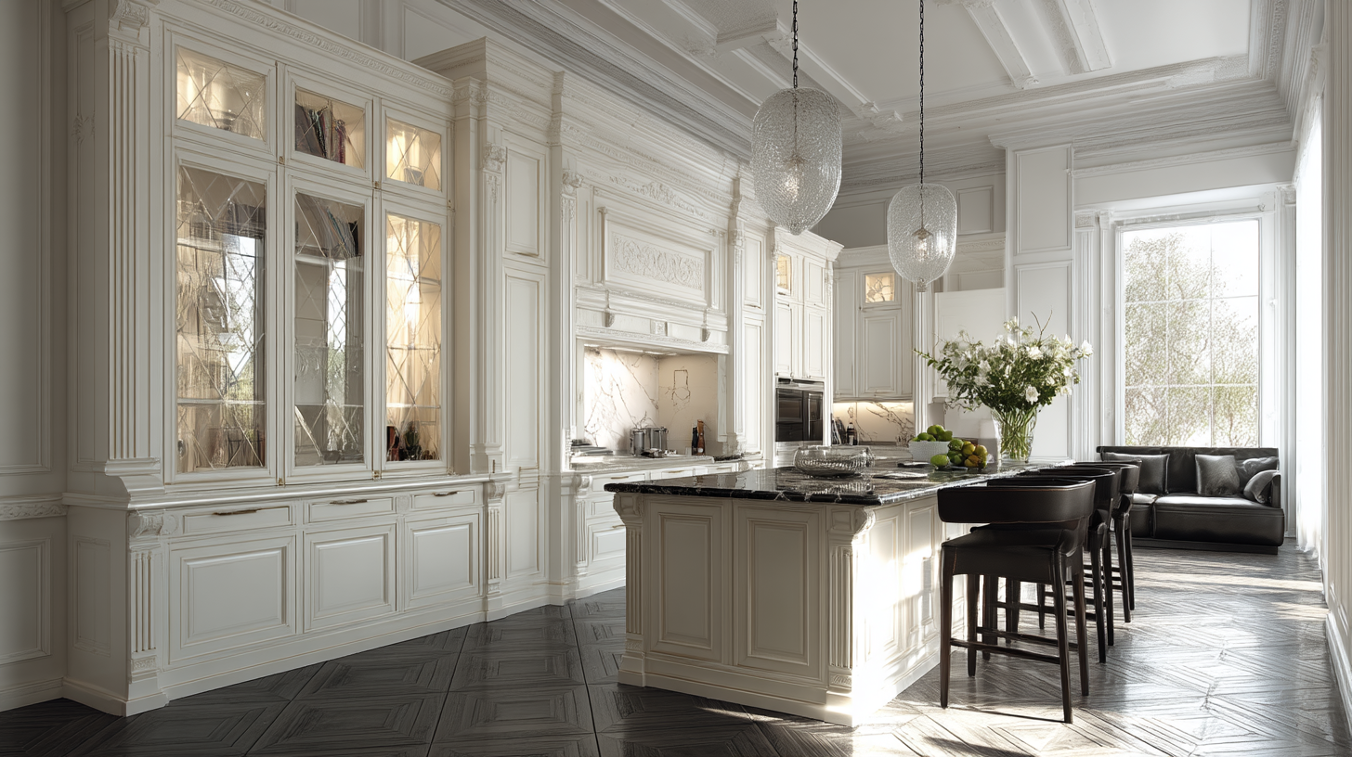
Many homeowners explore layout ideas through kitchen planning resources such as Kitchen Search, which helps visualize cabinetry layouts and renovation possibilities before construction begins.
Choosing Materials for a Kitchen Unit
Selecting the right materials affects both durability and appearance.
Plywood for Cabinet Boxes
Most cabinet builders use ¾-inch plywood for cabinet sides, tops, and bottoms because it provides strong structural support.
Plywood resists warping better than many other materials and holds screws securely.
Back Panels
Back panels are often made from ¼-inch plywood to reduce weight while still providing structural support.
Cabinet Doors and Drawer Fronts
Doors and drawer fronts may be made from:
- Solid wood
- Medium-density fiberboard (MDF)
- Plywood panels with decorative finishes
Material selection depends on budget and design preference.
Tools Needed to Build a Kitchen Unit
Basic woodworking tools are necessary for cabinet construction.
Common tools include:
- Circular saw or table saw
- Drill and driver
- Measuring tape
- Carpenter’s square
- Clamps
- Wood screws or pocket hole screws
Having accurate measuring tools is especially important for maintaining cabinet alignment.
Step-by-Step: How to Build a Kitchen Unit
Building a kitchen unit typically follows a series of structured steps.
Step 1: Cut the Cabinet Panels
Begin by cutting the plywood sheets into the required pieces.
A typical cabinet box requires:
- Two side panels
- One bottom panel
- One top brace or top panel
- One back panel
Accurate cuts are essential to ensure the cabinet remains square during assembly.
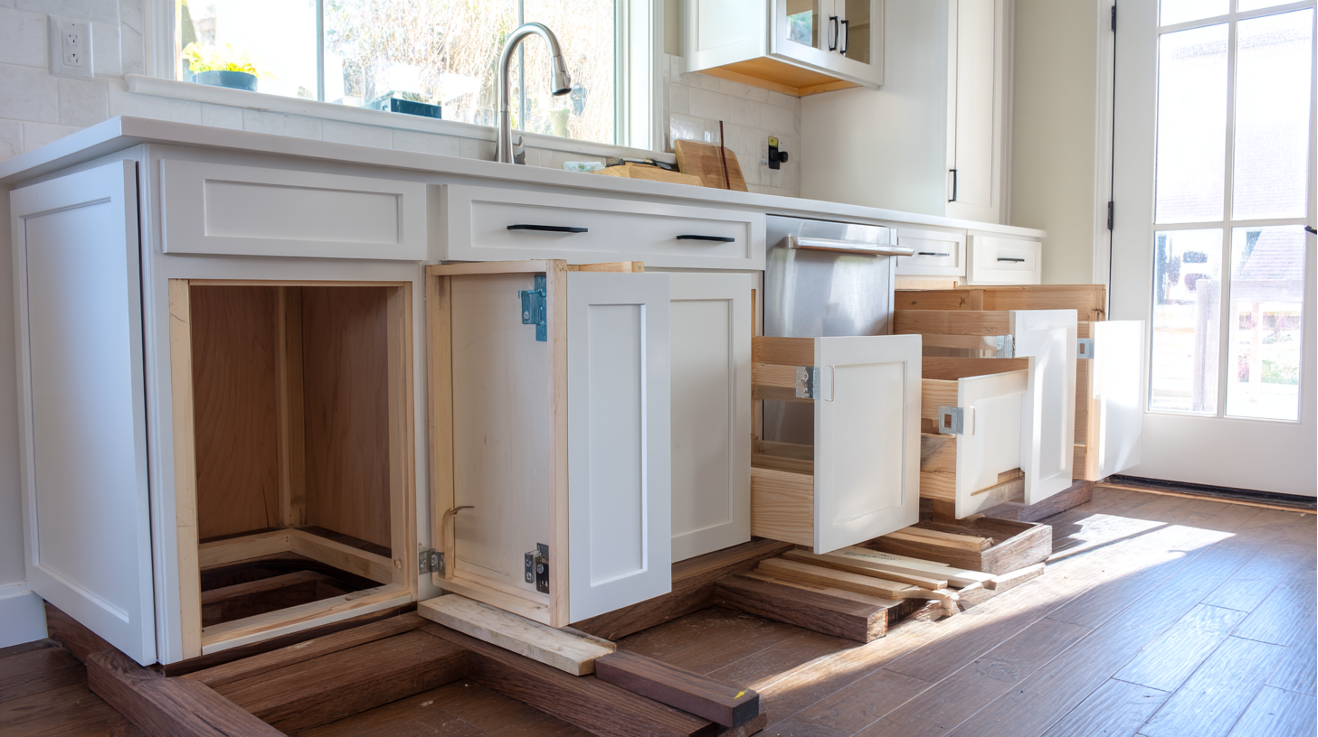
Step 2: Assemble the Cabinet Box
Once the panels are cut, assemble the cabinet carcass.
The side panels are attached to the bottom panel using screws or pocket hole joinery. The back panel is then secured to reinforce the structure.
Clamps can help hold panels in place during assembly.
Maintaining square corners ensures the cabinet doors will operate properly later.
Step 3: Install Shelves or Drawer Supports
Interior storage features can be customized depending on the cabinet’s purpose.
Some units may include:
- Adjustable shelves
- Drawer slides
- Fixed shelves for heavy items
Proper shelf placement helps maximize storage capacity.
Step 4: Attach the Face Frame
Many cabinets include a face frame attached to the front of the cabinet box.
Face frames are typically made from hardwood and provide:
- Additional structural strength
- A finished appearance
- Mounting surfaces for doors and drawers
Frameless cabinets are also common in modern kitchens, depending on design preferences.
Step 5: Install Cabinet Doors and Hardware
After the cabinet box is assembled, doors and hardware can be installed.
This step includes:
- Mounting cabinet hinges
- Installing handles or pulls
- Adjusting door alignment
Proper door alignment ensures smooth operation and a consistent appearance across the kitchen.
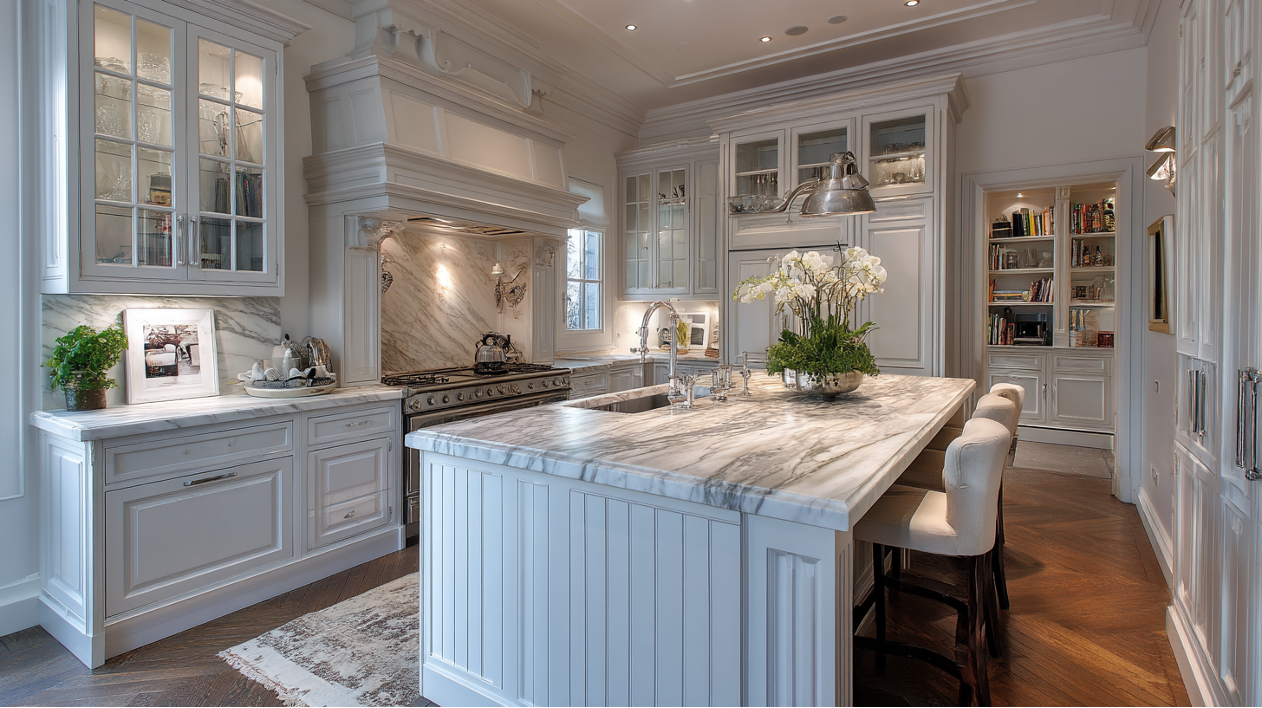
For homeowners undertaking larger renovations, construction firms like Origami Design Build often assist with integrating custom cabinetry into full kitchen remodeling projects.
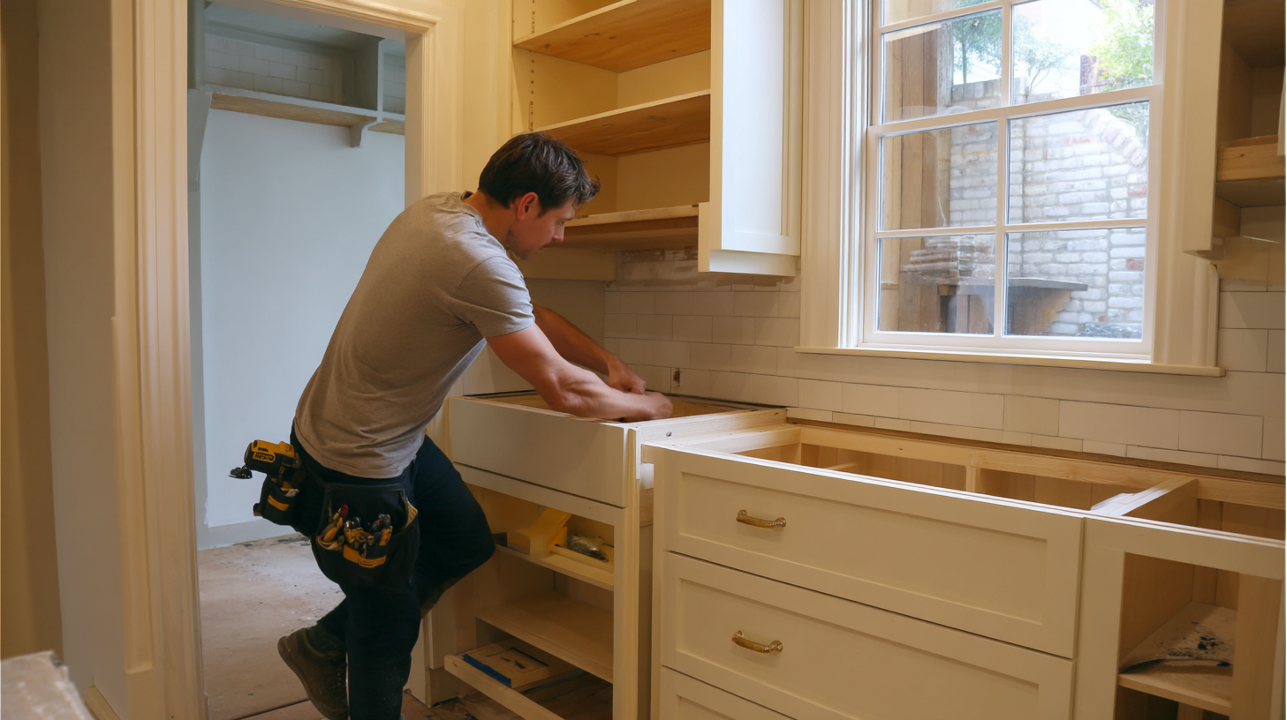
Installing the Kitchen Unit
Once the cabinet unit is built, it must be securely installed.
Level the Cabinet Base
Begin by positioning the cabinet in its final location and checking that the base is level.
Shims may be used to adjust uneven flooring.
Secure the Cabinet to the Wall
Cabinets are typically anchored to wall studs using long screws through the back panel or mounting rail.
Proper anchoring ensures the cabinet remains stable under the weight of countertops and stored items.
Common Mistakes to Avoid
When building kitchen units, several mistakes can affect the final result.
Inaccurate Measurements
Even small measurement errors can cause cabinet doors or drawers to misalign.
Double-checking dimensions before cutting panels helps prevent this issue.
Weak Joinery
Using the wrong screws or failing to reinforce joints can weaken the cabinet structure.
Ignoring Layout Planning
Cabinet units must align with appliances, countertops, and adjacent cabinets.
Proper planning ensures a cohesive final layout.
Tips for a Successful Kitchen Cabinet Build
Building kitchen cabinets requires patience and attention to detail. These tips can improve results:
- Measure carefully before cutting materials
- Use high-quality plywood for structural panels
- Assemble cabinets on a flat surface
- Test fit doors and drawers before final installation
- Plan the entire kitchen layout before building multiple units
Taking time during preparation helps ensure the final installation is both durable and visually consistent.
Final Thoughts
Learning how to build a kitchen unit can help homeowners create customized cabinetry tailored to their kitchen’s layout and storage needs. While the process requires careful planning and precise construction, it offers flexibility that pre-built cabinets may not provide.
Whether building a single cabinet or an entire kitchen system, the key to success lies in accurate measurements, durable materials, and thoughtful design. For homeowners planning larger renovations, combining custom cabinetry with professional design and construction guidance can help bring the entire kitchen project together efficiently.