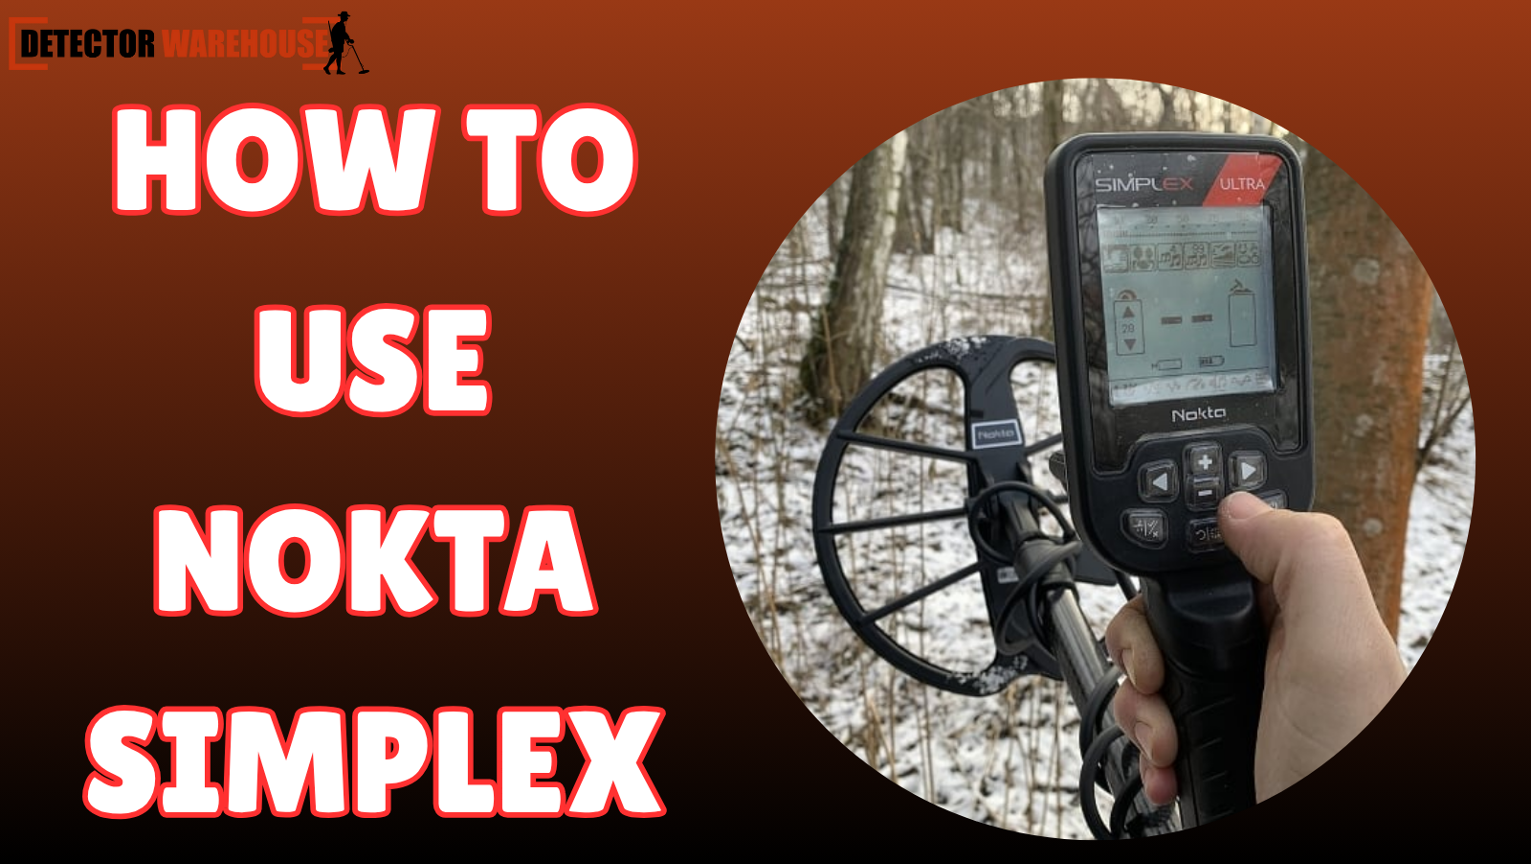
The Nokta Makro Simplex is one of the most beginner-friendly and powerful detectors on the market. With its waterproof design, modern features, and ease of use, it’s perfect for anyone eager to start treasure hunting. In this guide, we’ll walk you through how to use the Nokta Simplex step-by-step, from setup to advanced detecting techniques. Whether you’re searching for coins, relics, or jewelry, this will help you get the best results from your Nokta metal detectors.
Step 1 – Assembling Your Nokta Makro Simplex
Setting up your detector is simple and quick. Begin by connecting the lower, middle, and upper shafts securely. Attach the search coil at the bottom and tighten the bolt firmly. Once that’s done, connect the coil cable to the control box and wrap it neatly around the shaft. Finally, attach the armrest and adjust it for comfortable handling—proper assembly ensures stability during your hunts.
Connect and Secure the Shaft and Coil
Insert each shaft section properly until you hear it lock. Make sure the coil is parallel to the ground and doesn’t wobble when tightened. This gives you consistent ground coverage.
Attach the Armrest and Cable
Wrap the cable upward toward the control box to avoid loose wires. Adjust the armrest strap so your arm feels supported during long sessions.
Step 2 – Powering On and Checking Battery Status
To start, press and hold the power button until the screen lights up. The battery indicator on the display shows your current charge level. Always ensure your detector is fully charged before heading out. Recharge using the provided USB cable and avoid overcharging to extend battery life. Keeping your power levels up means you won’t miss out on valuable finds.
Step 3 – Choosing the Right Search Mode
The Nokta Makro Simplex offers five unique detection modes to suit different environments and targets.
Park Mode (1 & 2) for Coins and Jewelry
Park modes are perfect for urban areas, helping you filter trash signals and focus on valuable metals. Park 2 offers slightly higher sensitivity for deeper coins and rings.
Field Mode for Relic Hunting
This mode provides deeper detection and sharper response tones—ideal for larger metal relics buried deep in open fields.
Beach Mode for Wet Sand or Shallow Water
Designed for mineralized ground and saltwater environments, Beach Mode maintains stable performance even in wet conditions.
All Metal Mode for Maximum Depth
Use this mode when you want to detect every kind of metal. It’s excellent for scanning unknown areas with no discrimination.
Step 4 – Adjusting Sensitivity and Discrimination
Sensitivity controls how deep your detector can sense metals. Higher sensitivity means more depth, but it can also increase noise in mineralized soils. Use the plus and minus buttons to find a balanced setting. Discrimination allows you to ignore unwanted metals like nails or bottle caps. Experiment with both until your signals become clear and stable. The more balanced your setup, the better your finds.
Step 5 – Ground Balancing Your Detector
Ground balancing is essential for accurate detection. Press and hold the GB button, then pump the coil up and down about 10–15 cm above the ground. Release when the detector beeps and stabilizes. Auto ground balance works well for most locations, but in highly mineralized soil, manual adjustment may be needed. A well-balanced detector minimizes false signals and improves depth detection.
Step 6 – Sweeping and Detecting Techniques
Proper coil movement makes a big difference. Keep your coil 2–3 inches above the ground and sweep it side to side slowly. Overlapping your swings ensures you don’t miss targets. Watch the screen for target ID numbers ranging from 0 to 99—these indicate the type of metal detected. For instance, lower numbers often represent iron, while higher numbers can signal silver or gold.
Step 7 – Pinpointing and Digging the Target
Once you find a promising signal, press the pinpoint button to locate the object’s center. Move the coil slowly and listen for the loudest tone—that’s where your target lies. Use a digging tool to carefully remove soil in layers. Always fill your holes after recovering an item to preserve the area for future hunts. Mastering pinpointing helps you dig less and find more efficiently.
Step 8 – Using the Nokta Simplex Underwater
The Simplex is fully waterproof up to 3 meters (10 feet), making it great for rivers, lakes, and beaches. Before submerging, ensure all ports are sealed tightly to prevent leaks. Use Beach Mode for best stability in saltwater. Move the coil slowly underwater for accurate readings. After use, rinse your coil with clean water to prevent salt buildup or corrosion.
Step 9 – Maintenance and Care After Detecting
After every hunt, clean your coil with water and wipe the control box gently. Never leave mud or sand on the detector for long periods. Recharge the battery after each session, especially if you’ve been detecting for several hours. Store your Simplex in a cool, dry place. Proper care ensures your Nokta metal detectors stay accurate and last for years.
Step 10 – Expert Tips for Better Performance
To get the most from your Simplex, use headphones for clearer audio feedback, especially in noisy areas. Regularly update your detector’s firmware through Nokta’s website to access new features. Lastly, practice detecting different metal samples in your backyard to learn how each tone and ID reacts. Experience is key—the more you hunt, the better you’ll understand your detector.
Conclusion
The Nokta Makro Simplex is proof that detecting can be both simple and powerful. Its waterproof design, easy setup, and intuitive controls make it a great companion for beginners and experienced hobbyists alike. By following this guide, you’ll master every function and maximize your success in the field. So power it up, head outdoors, and start uncovering history with your Nokta metal detectors today.


