

A cabinet door can feel smooth after sanding but still reveal scratches and swirl marks after staining or painting. Shallow defects often cannot be detected under normal shop lighting, particularly on large flat surfaces. But if those flaws are discovered at the end of the process, correcting them can mean additional sanding, refinishing, and labor.
SurfPrep addresses that problem by bringing controlled LED inspection lighting into the surface-preparation process. Surface imperfections that are difficult to see under overhead lighting can become more visible when illuminated from a low angle. You can mark and correct defects while they are still easy to access, or move into the finishing stage with greater confidence.
Here is how SurfPrep uses LED inspection lighting to help you inspect surfaces, catch sanding defects, and improve finishing consistency.
1. Reveal Hidden Surface Defects
Normal overhead lighting comes from above the workpiece and may not create enough shadow or contrast to reveal subtle sanding defects. Scratches can fade into the background, while small dents or irregular spots may appear fine from a distance. Those flaws may only become apparent after stain, paint, or clear coat has been applied.
Low-angle lighting, often called raking light, directs light across the surface rather than straight down onto it. This creates more contrast around surface irregularities, making scratches, swirl marks, cross-grain scratches, and other defects easier to see before finishing.
LED inspection light can also be used to view a panel from various angles during the sanding process. This additional visibility helps you find defects before they become irreversible and address them with the correct sanding and abrasive.
2. Improve Grit Change Checks
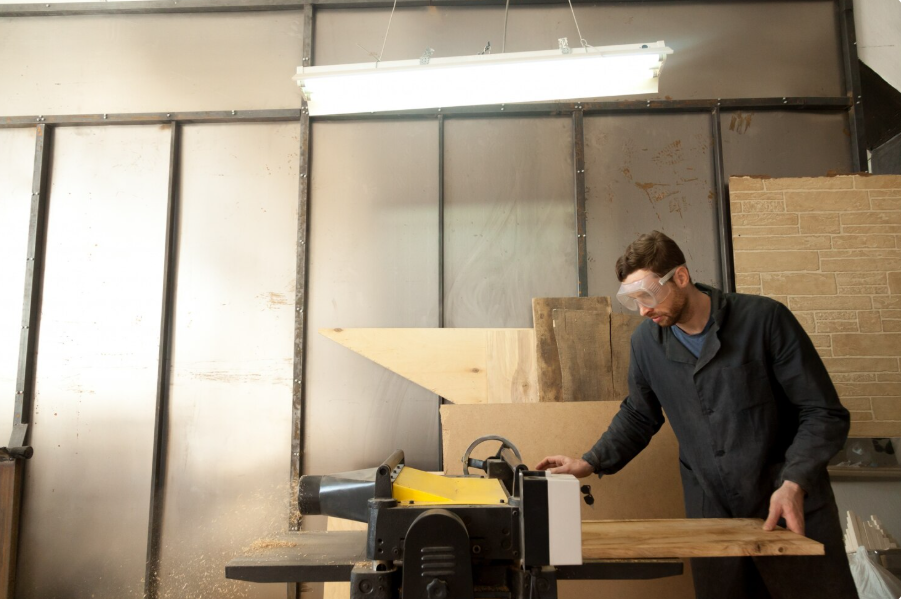
Changing grits is an important stage for inspecting the surface. Each finer grit is used to refine the scratch pattern left by the previous grit, but a missed area can carry deeper marks into the next stage. If you do not spot the problem early, later sanding may not fully remove it. A quick inspection at this point can help you determine whether the surface is ready for the next grit.
SurfPrep’s LED inspection lighting gives you a practical way to check the surface after each major grit change. You can move the light across the panel and look for marks that do not match the expected scratch pattern. A careful inspection can show whether the previous sanding stage produced the desired surface before you move to a finer abrasive.
That process helps you avoid simply sanding for longer without knowing whether you are correcting the right problem. You can identify a defect, focus your next sanding pass on the affected area, and then inspect the surface again. The result is a more controlled approach to surface preparation.
3. Catch Scratches Before Finishing
Finishing products can make sanding defects much easier to see. Stain can settle into scratches and emphasize their direction. Paint can highlight uneven areas, while clear coats may change how light reflects from a surface. A panel that looks acceptable before finishing may reveal several problems after the first coat.
LED inspection lighting gives you an opportunity to catch those problems before they reach the finishing stage. You can inspect cabinet doors, furniture panels, trim, and other prepared surfaces under low-angle light that makes defects easier to see. That inspection can help you decide whether a surface is genuinely ready for its next step.
You can also use inspection lighting after final sanding and before applying a coating. A few minutes spent checking a surface can save much more time later. If you find a scratch before finishing, you can address the defect while the surface remains accessible and avoid unnecessary stripping or refinishing.
4. Reduce Rework Before Coating

Rework often begins with a small defect that goes unnoticed. You finish sanding a panel, move it forward, and assume the surface is ready. After coating, a scratch becomes visible. Now you may need to sand again, remove part of the finish, clean the surface, and repeat part of the finishing process. Catching that scratch before coating can help you avoid several extra steps later.
LED inspection lighting can move defect detection earlier in your workflow. Instead of waiting for a coating to reveal a problem, you can inspect the surface before the coating is applied. That timing matters because correcting bare wood is generally simpler than correcting a finished surface. You can address visible imperfections while the surface is still easy to access and prepare.
You also gain a clearer reason for making another sanding pass. Rather than sanding the entire surface repeatedly, you can focus on specific defects revealed by the inspection light. That approach can help reduce unnecessary work while giving you greater control over the final surface.
5. Fit Inspection into Workflow
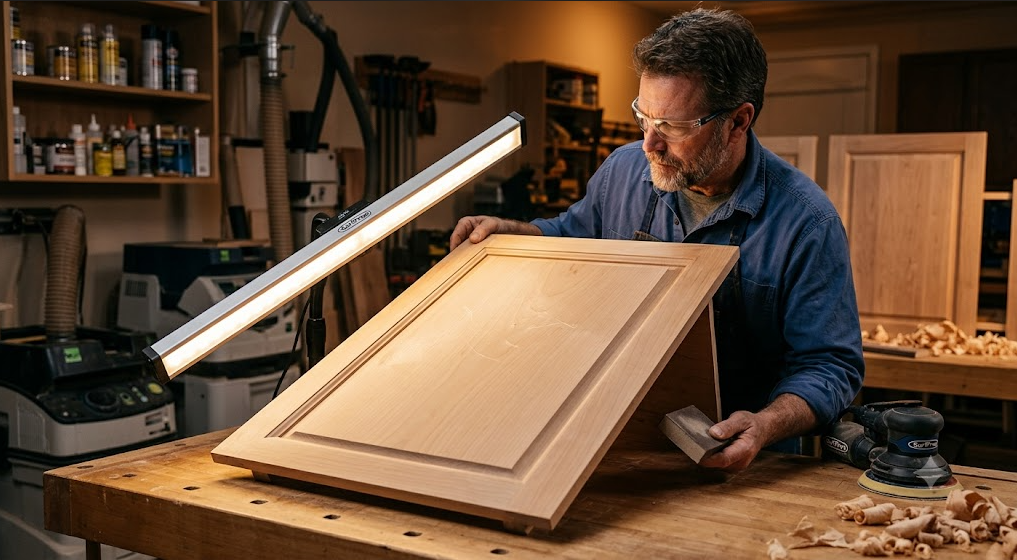
An inspection light works best when you treat inspection as part of your sanding process rather than as a final check. You can inspect after an initial sanding stage, after changing grits, and again before finishing. Each checkpoint gives you another opportunity to catch problems before they move forward.
SurfPrep offers LED inspection light bars in different sizes to accommodate different work areas and applications. A longer light bar can make it easier to illuminate larger panels, while a smaller option can suit more compact workspaces. The right setup depends on your workpiece size, available space, and inspection routine. Choosing a setup that fits your workspace can make regular surface checks easier to perform.
You can also use inspection lighting when checking prepared surfaces across a production workflow. Keep the inspection position consistent and look at surfaces from more than one angle. If a scratch or uneven area becomes visible under low-angle light, stop and correct the problem before the workpiece advances.
Conclusion
Good surface preparation is not only about choosing the right abrasive or sanding technique. You also need a reliable way to see whether the surface is truly ready for finishing. SurfPrep uses LED inspection lighting to expose scratches, swirl marks, dents, and other subtle defects that normal shop lighting may hide. By checking surfaces at key points, you can improve consistency and catch problems before they become finishing defects.
Put inspection into your sanding routine rather than saving it for the end. Check after major grit changes, inspect after final sanding, and examine the surface before applying paint, stain, or clear coat. A few deliberate checks can help you correct defects sooner and send cleaner, more consistent surfaces into finishing. With the right inspection process, you can approach each finishing stage with greater confidence and fewer surprises.