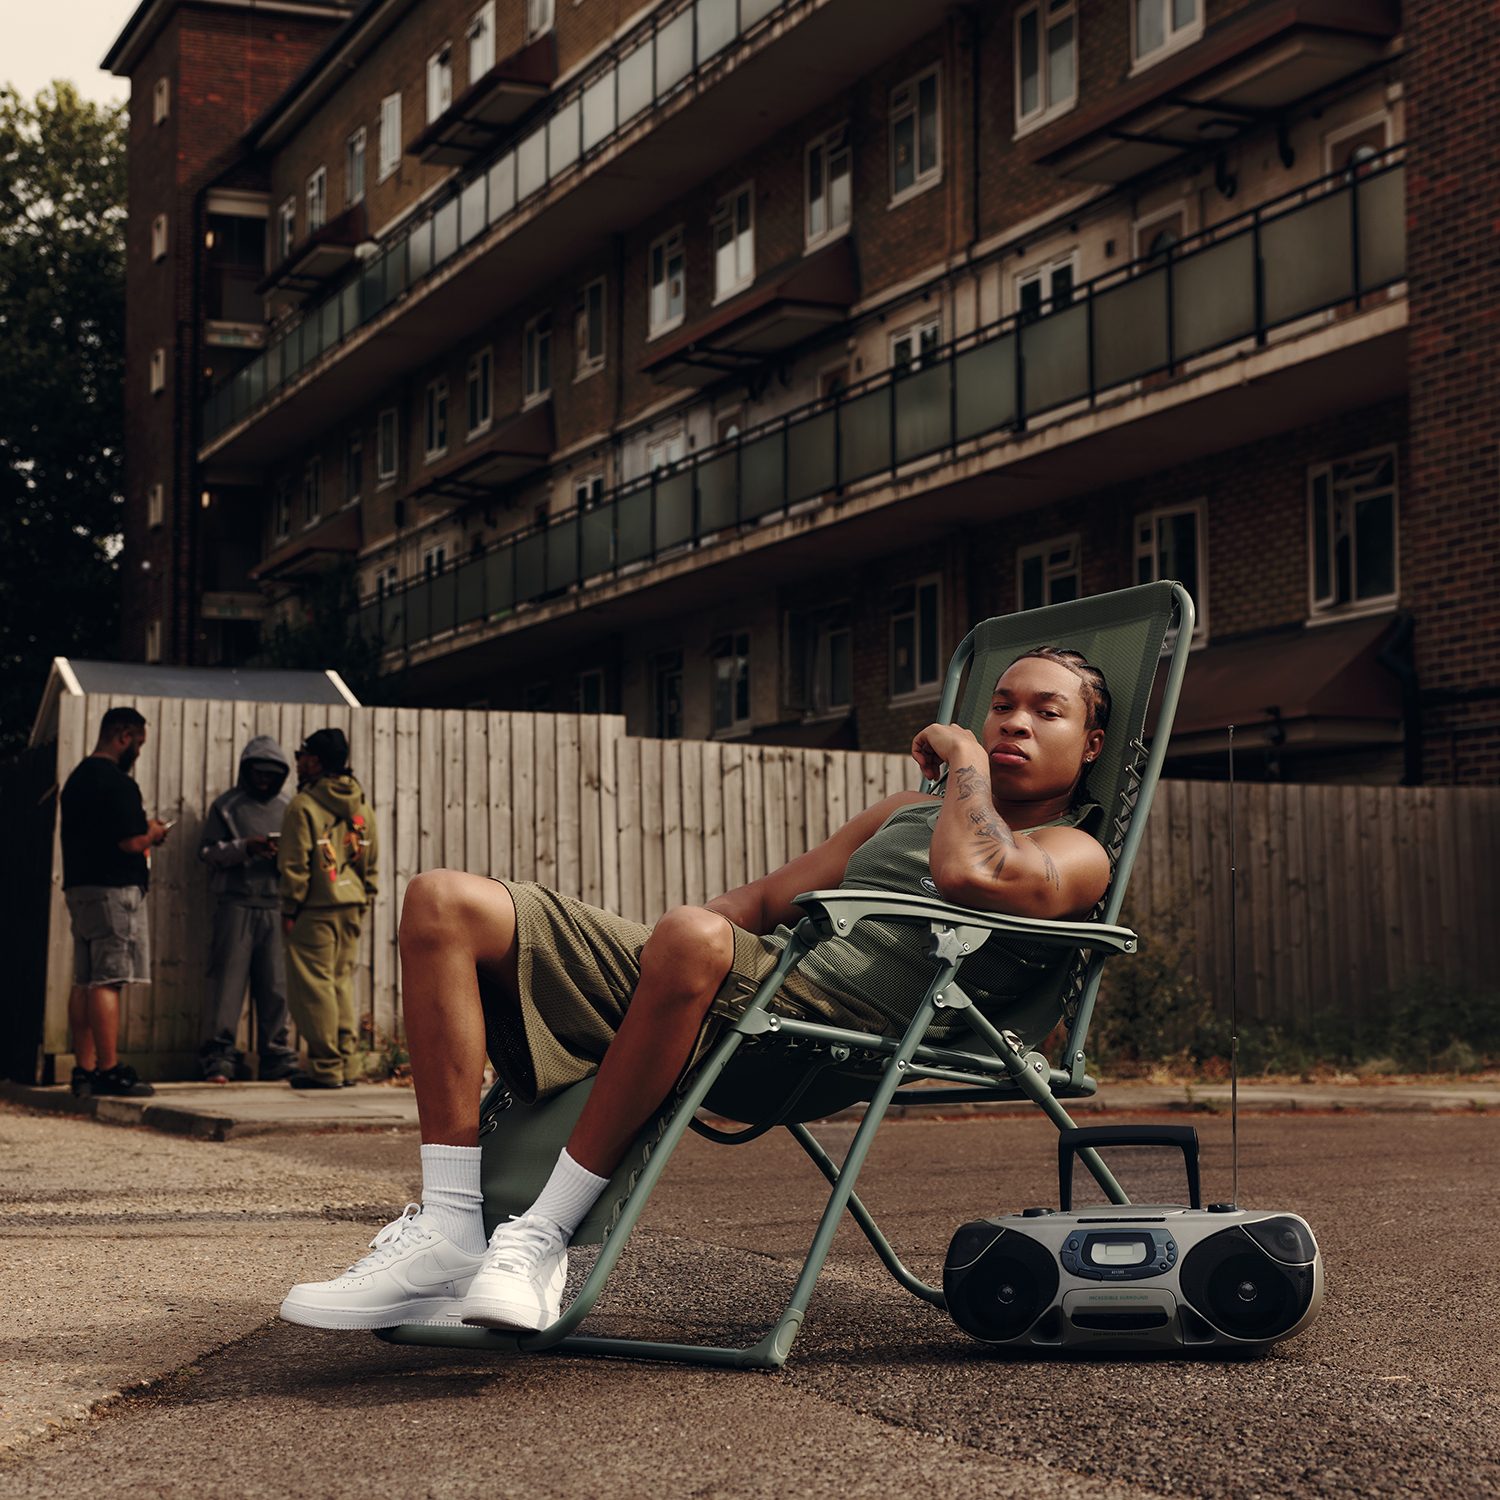
A name on a tea towel. Two initials on a denim cuff. A wedding date tucked into the corner of a hoop.
Small stitched details make an everyday object personal. Counted cross stitch, where you count stitches from a chart and work them onto a fabric grid, offers a practical way to add lettering to gifts.
Needlework samplers have long featured alphabets, often alongside the maker’s name and the date.
You can use the same approach on linens, clothes and keepsakes. The steps below cover choosing an alphabet, sizing it so it reads clearly, and placing it on your chosen item.
Key Takeaways
- Size for legibility. Letters around 12 to 16 stitches tall are a useful starting point for names, but simple block alphabets can work at smaller sizes.
- Plan on paper first. Chart the longest line, check the gaps between letters, and match the chart’s centre to your intended placement.
- You can stitch on ready-made items. Waste canvas and water-soluble cross stitch guides add a temporary counting grid to fabric.
Eight Ideas to Start From
- A hoop ornament with a first name and year
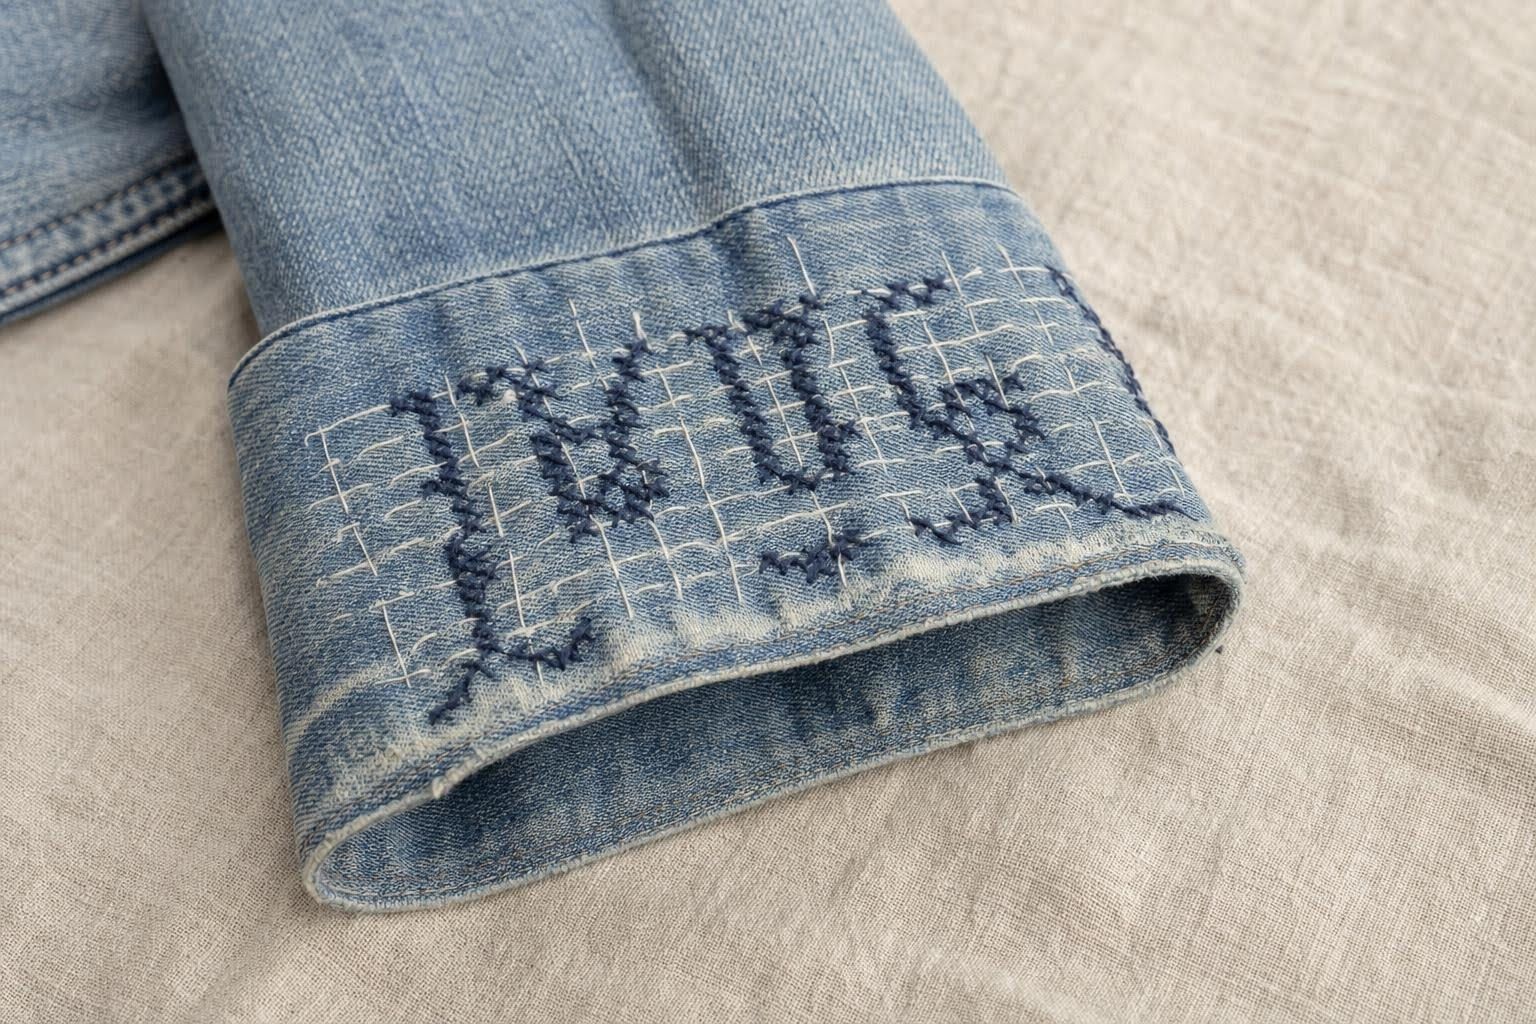
- Initials on the cuff of a denim jacket
- A name band across the top of a tote bag
- A single-letter monogram in a tea towel corner
- A baby bib with a name and birth date
- Initials on a fabric bookmark
- A wedding sampler with both names and the date
- A small stitched patch for a luggage tag
Step 1: Pick the Base and Placement
Decide whether the text should stand out or sit quietly in a corner. A name across a tote needs space and clear letters. Initials on a shirt cuff can be smaller and more subtle.
Measure the usable stitching area, avoiding thick seams and checking that you can reach the back with your needle.
Think about wear, too. Towels and totes need lettering that remains easy to read after use and washing.
Thin or stretchy garment fabric may need a suitable stabiliser behind the stitching to help prevent puckering.
Step 2: Choose Your Alphabet Style
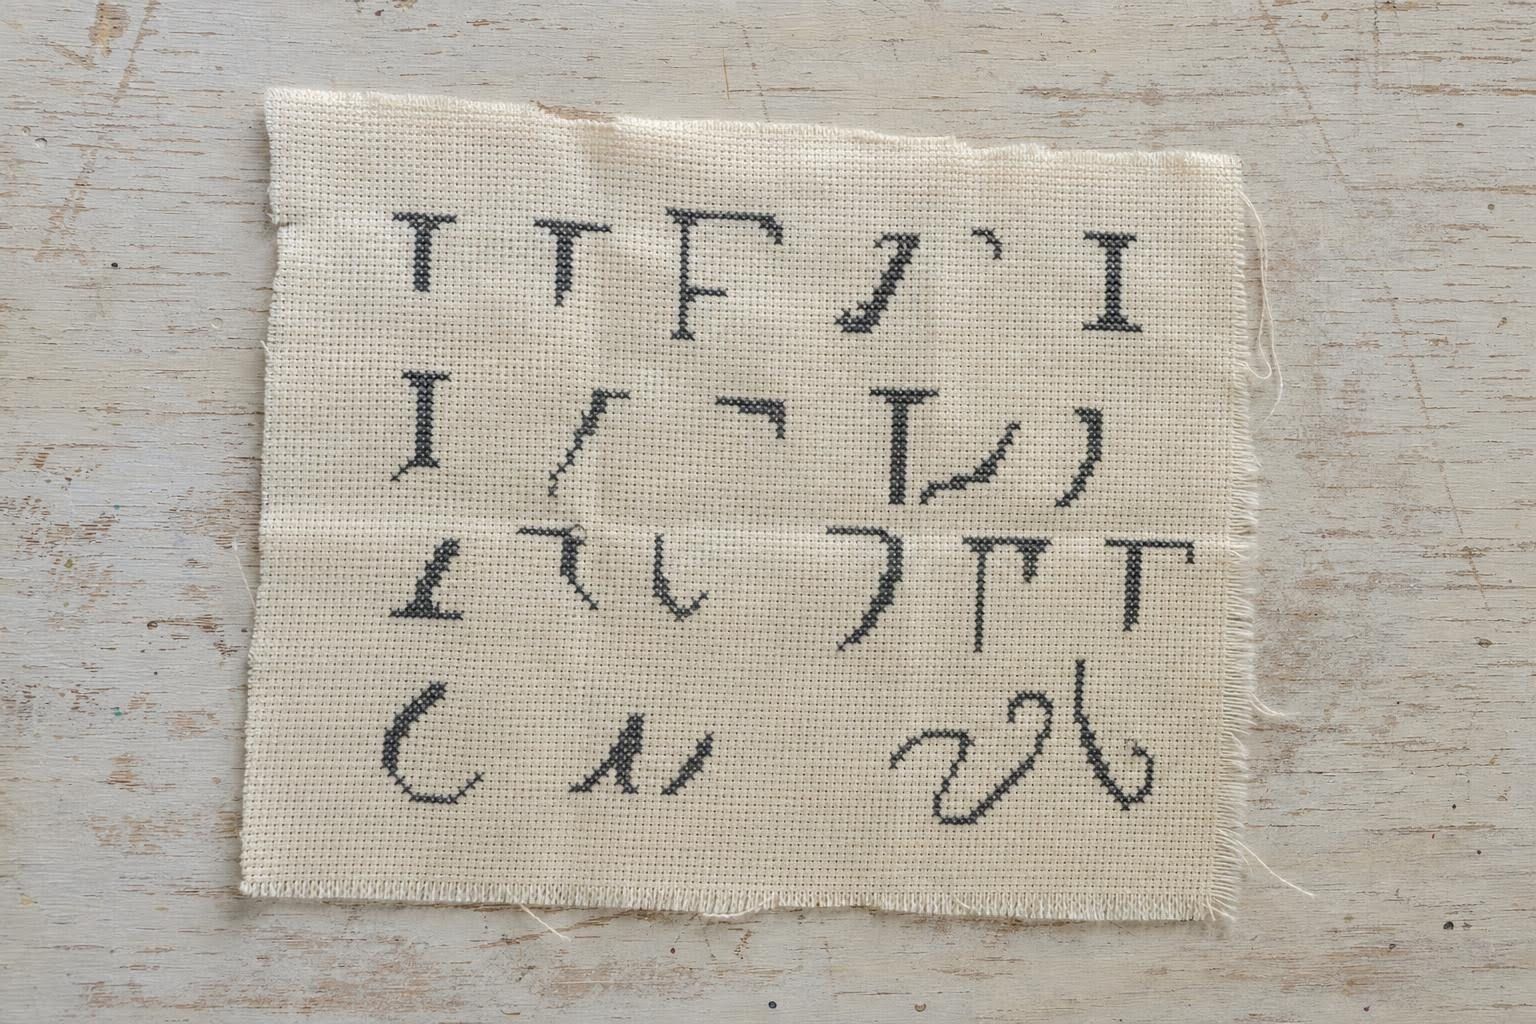
Alphabet charts generally fall into three families. Serif letters, with small feet on their strokes, suit traditional gifts such as samplers and linen napkins.
Block letters are often the easiest to read at small sizes. Script alphabets need enough room for their curves and joins to stay distinct.
On Aida, the fabric’s “count” tells you how many stitches fit into an inch. On 14-count Aida, a 12-stitch letter is roughly 0.9 inches tall, while a 16-stitch letter is about 1.1 inches.
Divide the chart’s total stitch width by the fabric count to estimate how much room the name will need.
Cottage Garden Threads offers one curated place to browse counted cross stitch alphabet charts and compare letterforms for your gift.
Check each listing for the chart format and contents, including whether it offers numbers if you want to add a date.
Step 3: Plan Spacing and Centring
Chart the complete text on graph paper or in a charting tool before touching the fabric. Check the spelling and date, then count the total width of each line, including spaces.
For separate block letters, a one- or two-square gap is a useful starting point, with a wider gap between words. Follow the chart’s spacing guidance for joined script.
Keep letters on a shared baseline. For multiple lines, chart the longest line first, then centre shorter lines beneath it.
Leave enough room for descending letters, such as y and g, so they don’t collide with the line below.
Mark the centre of the finished chart and match it to the centre of your chosen stitching area, not necessarily the centre of the whole item.
Step 4: Choose a Fabric Method
Aida and evenweave are standard cross stitch fabrics. Aida has clear blocks and holes; evenweave has evenly spaced threads that you count across.
They suit ornaments, bookmarks and samplers. Check whether an evenweave chart is worked over one or two fabric threads, as this changes the finished size.
For ready-made items without a suitable counting grid, add a temporary one.
Waste canvas is a loosely woven grid you tack onto the fabric. Stitch through both layers, taking care not to pierce the canvas threads.
After stitching, remove those threads one by one according to the product instructions. Some types need dampening first, and removal takes patience.
A water-soluble cross stitch guide provides a counting grid that washes away after stitching. Baste it onto the item, stitch through both layers, then dissolve it according to the manufacturer’s instructions.
Check that the fabric and thread can tolerate the required washing method, and test the thread for colour bleeding before using it.
Step 5: Stitch the Text
Full cross stitches make solid, readable letters for names on towels and totes.
Backstitch forms a thin line rather than a filled shape, making it useful for dates and small initials.
Choose an alphabet chart designed for the stitch you intend to use.
On a small gift, such as a bookmark or label, stitch the text before adding decorative motifs so the words get the room they need.
Keep the top arm of each cross stitch facing the same direction, and avoid pulling the thread so tightly that it distorts the fabric.
Step 6: Finish It Well
- Hoop ornaments: centre the design, tighten the fabric evenly, and secure the excess at the back before adding a felt backing.
- Bookmarks: add a fabric backing and finish the edges to prevent fraying. Interfacing can add firmness if needed.
- Towels and linens: press from the back on a clean towel, using a temperature suitable for the fabric and thread, so the stitches aren’t flattened.
- Garments: secure loose thread ends and finish the stabiliser according to its instructions. For areas touching the skin, consider a soft embroidery backing.
Style Notes and Common Slip-Ups
Strong contrast between thread and fabric helps lettering stay readable. Dark thread on a light background is a straightforward choice.
Use metallic thread sparingly if you want a small accent without making the lettering harder to stitch. For caps and beanies, this guide to hat customization ideas covers placing initials and embroidery on headwear.
Common mistakes include running out of room, overlooking a space between words, and placing lines too close together.
A complete chart catches most of these problems. If you’re unsure whether the letters will read clearly, stitch a short sample using the intended fabric and thread.
Wrap It With a Care Note
Add a small tag with the date, thread colours and any washing instructions. A short note about why you chose the name or date adds context.
Whether your chart came from Cottage Garden Threads or your own graph-paper design, careful lettering and a meaningful detail make the gift personal.