
There’s something undeniably satisfying about personalizing your clothes, bags, or accessories with your own designs. Whether it’s a band logo on your denim jacket, a quirky symbol on your backpack, or an emblem representing a personal motto, patches have long been a timeless form of self-expression. Today, you don’t need to rely on expensive embroidery shops or online services – you can easily make your patch at home with a few tools, some creativity, and a little patience.
In this guide, we’ll walk through everything you need to know to create your own patch – from choosing materials and techniques to applying your final piece to fabric.
Why Custom Patches Are So Popular
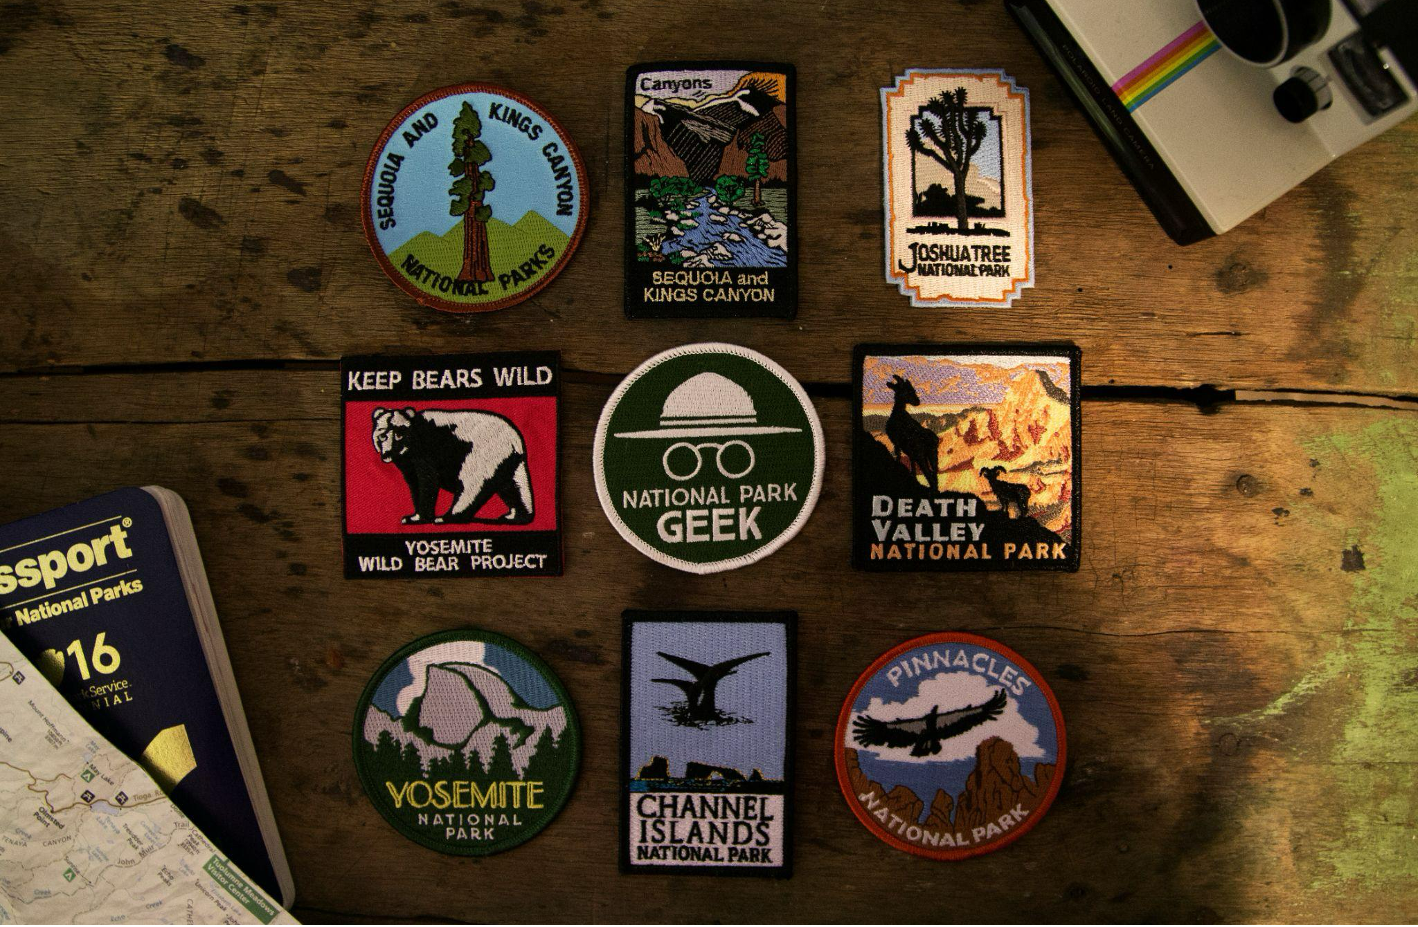
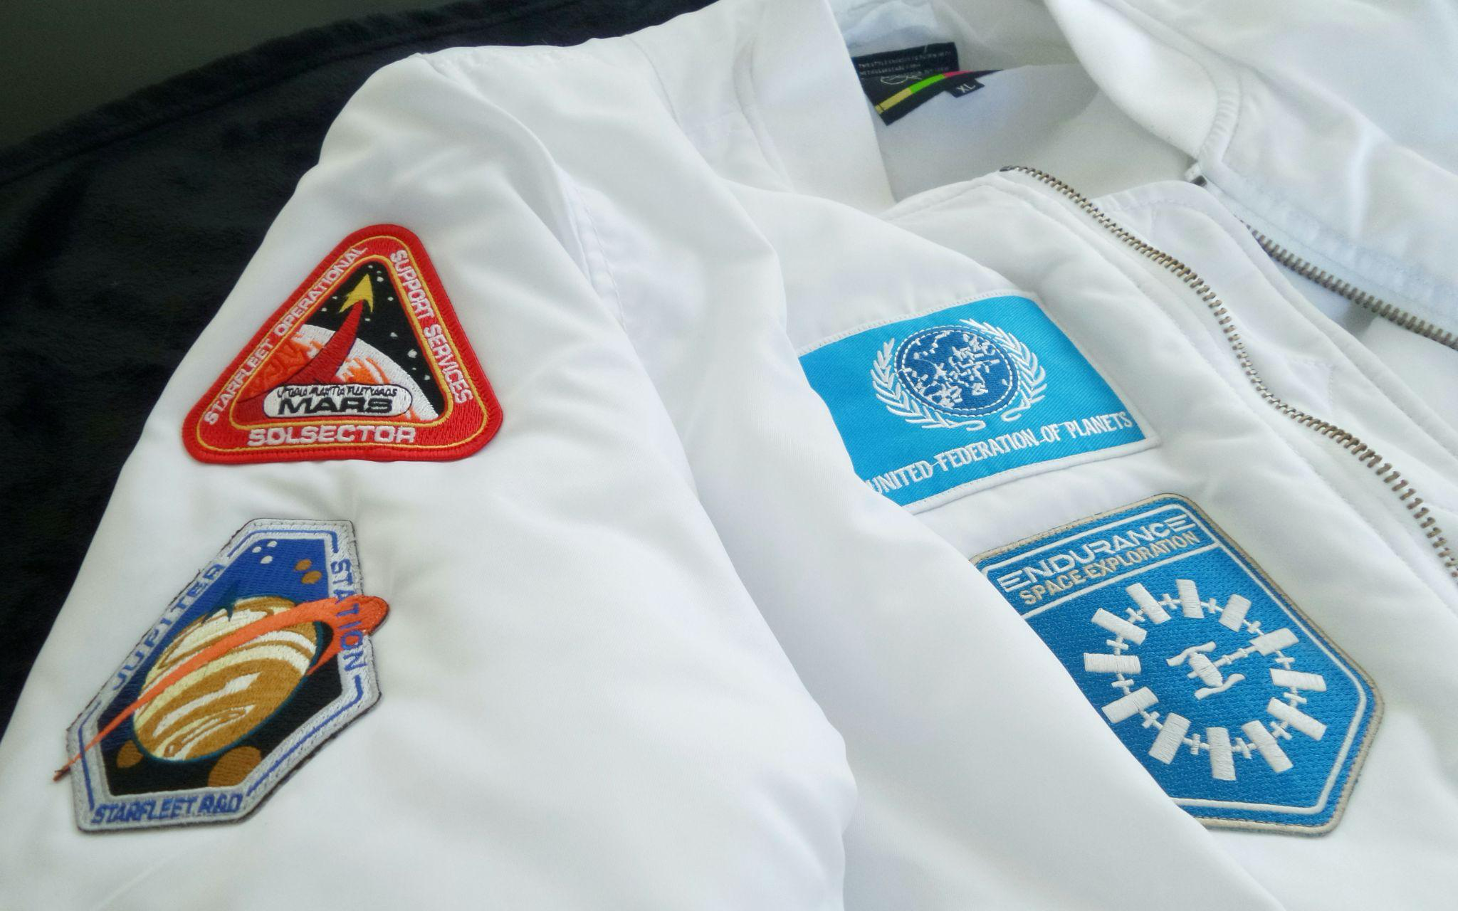
Custom patches are more than just decorative elements – they’re storytelling tools. Each patch can carry a unique meaning: representing membership in a club, commemorating an event, or simply showcasing your creativity. Their versatility makes them perfect for both fashion and function. They can add flair to everyday clothing, cover up worn areas on fabric, or bring a vintage touch to modern outfits.
DIY patch-making also aligns with the growing movement toward sustainable fashion. Instead of discarding old clothes, adding a patch can breathe new life into a favorite item, reducing waste and keeping your wardrobe fresh.
Materials You’ll Need
Before you create your own patches for clothes, it’s essential to gather the right supplies. The exact materials depend on the method you choose, but most homemade patches require:
- Base fabric – Cotton, felt, canvas, or twill work best. These materials are durable and easy to stitch.
- Embroidery thread or fabric paint – For adding your design details.
- Iron-on adhesive or fusible web – Makes it easy to attach the patch later.
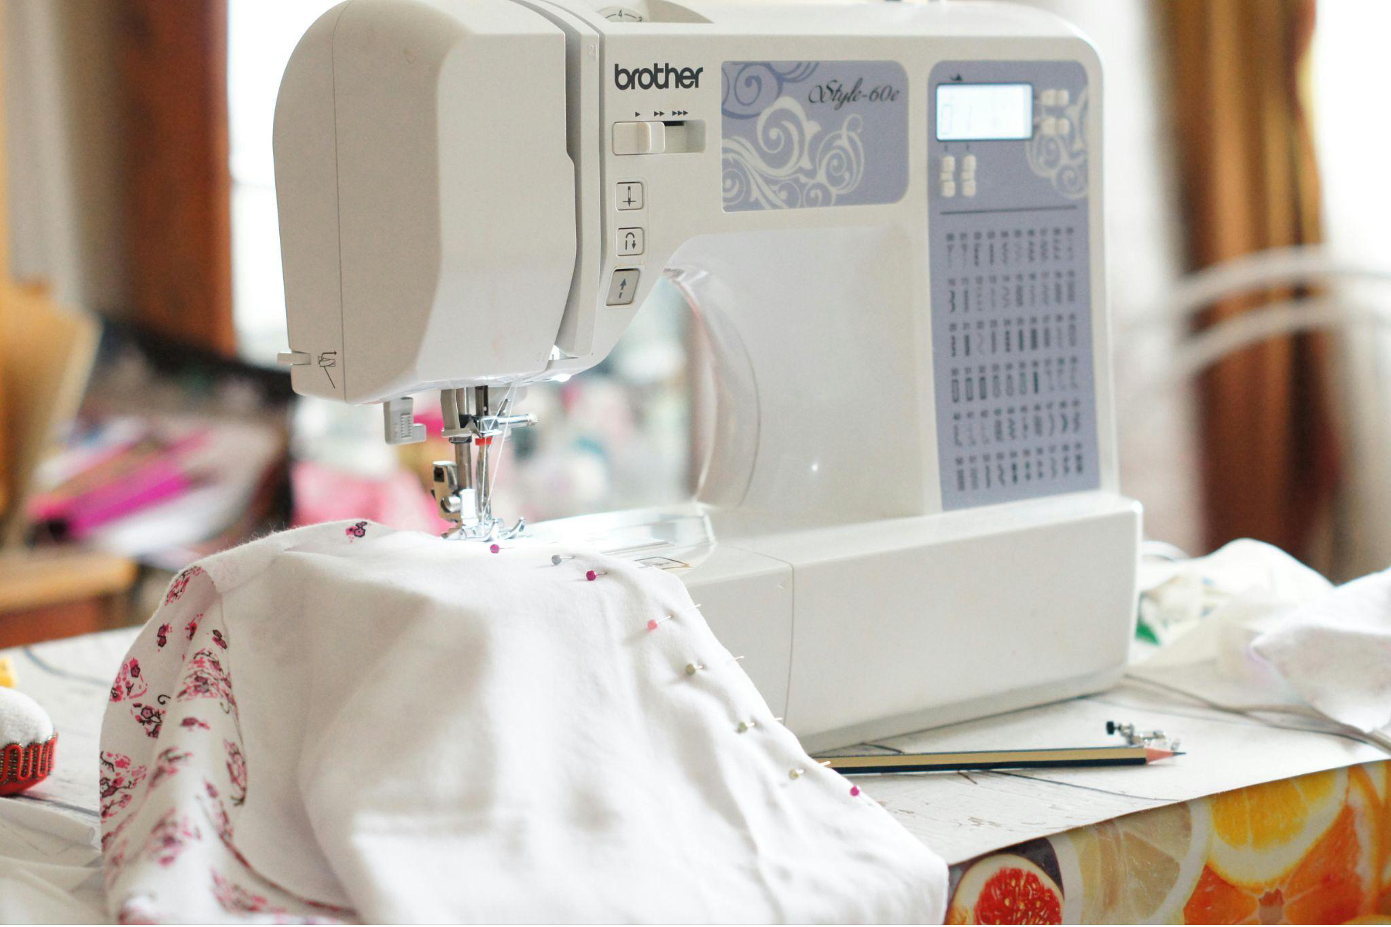
- Needle or embroidery machine – Depending on whether you’re hand-stitching or using technology.
- Scissors and fabric glue – For cutting and sealing edges.
- Tracing paper or printable transfer sheets – To transfer your artwork to the fabric accurately.
Optional extras include sequins, beads, or fabric markers if you want to add extra dimension or sparkle.
Planning Your Design
Every great patch starts with a great idea. Before you design patches, think about the message or mood you want to convey. Are you going for something minimalist, vintage, or bold and graphic? Start by sketching your concept on paper or using a digital illustration tool like Canva or Procreate.

When planning your patch:
- Keep it simple. Small patches can’t hold intricate details, so prioritize clean lines and bold shapes.
- Choose high-contrast colors. Strong color combinations make your design pop from a distance.
- Consider the final shape. Circles, shields, and rectangles are classic, but irregular shapes can add personality.
Once your design is ready, trace or print it onto your base fabric using transfer paper. This step ensures accuracy before you begin stitching or painting.
Embroidered Patches: The Classic Method
If you want a traditional, textured look, embroidery is the way to go. To make your patch this way:
- Prepare your base fabric. Stretch it tightly in an embroidery hoop.
- Outline your design. Use a pencil or erasable marker to mark your pattern.
- Stitch the design. Use embroidery floss and simple stitches like backstitch, satin stitch, or split stitch.
- Finish the edges. Cut around your design, leaving a small border. Seal it with fabric glue or a blanket stitch to prevent fraying.
This technique produces a high-quality, professional finish. It may take time, but the results are worth the effort – especially if you enjoy handcrafting.
Painted or Printed Patches
Not everyone has the patience (or skill) for hand embroidery, and that’s perfectly fine. You can still produce your own patch using fabric paint or digital printing.
- For painted patches: Use acrylic fabric paints or permanent markers. Paint directly on the base fabric, then let it dry completely. Iron the back to set the paint.
- For printed patches: Print your design onto an iron-on transfer sheet, then press it onto fabric following the manufacturer’s instructions. Cut out the design and seal the edges.
Both of these methods are great for bold, colorful patches and are ideal for beginners.
Iron-On and Sew-On Backings
Once your design is complete, decide how you’ll attach it. Iron-on backings are convenient for most garments, but sewing offers durability, especially for items that will be washed frequently. Learning to create iron on patches is simple and adds a quick, professional finish to your project.
To make an iron-on patch:
- Cut a piece of fusible web to match your patch.
- Place it on the back of your design and press it with an iron for 15–20 seconds.
- Peel off the protective layer, then iron the patch onto your clothing.
For a sew-on patch, simply pin the patch in place and hand-stitch or machine-stitch around the edges.
Adding Finishing Touches
After you create patches for clothes, it’s worth adding a few final details to make them stand out:
- Use metallic or glow-in-the-dark thread for accents.
- Add beads or sequins for texture.
- Edge your patch with decorative stitching.
- Layer multiple small patches for a collage effect.
These small additions make your creation look professionally crafted – even if it was made right at your kitchen table.
Creative Uses for Homemade Patches
Patches aren’t limited to jackets and jeans. Try applying them to:
- Tote bags and backpacks
- Hats or beanies
- Laptop sleeves
- Denim skirts
- Fabric sneakers
- Dog collars or pet harnesses
They’re also great for gifts – a custom-made patch can be a thoughtful and personal present.
Craft Your Style, One Patch at a Time
Learning how to craft patches and make them at home is an enjoyable blend of art and craft – a hands-on way to express individuality. Whether you prefer embroidered details, painted graphics, or printed imagery, making your own patches gives you full control over creativity, color, and meaning.
So pull out that old denim jacket or canvas tote, gather your materials, and start crafting. Each piece you make tells a story – and with every stitch, paint stroke, or press of the iron, your wardrobe becomes a little more you.